uateskirt: The Ultimate Guide to Sewing a Simple Skirt
Introduction
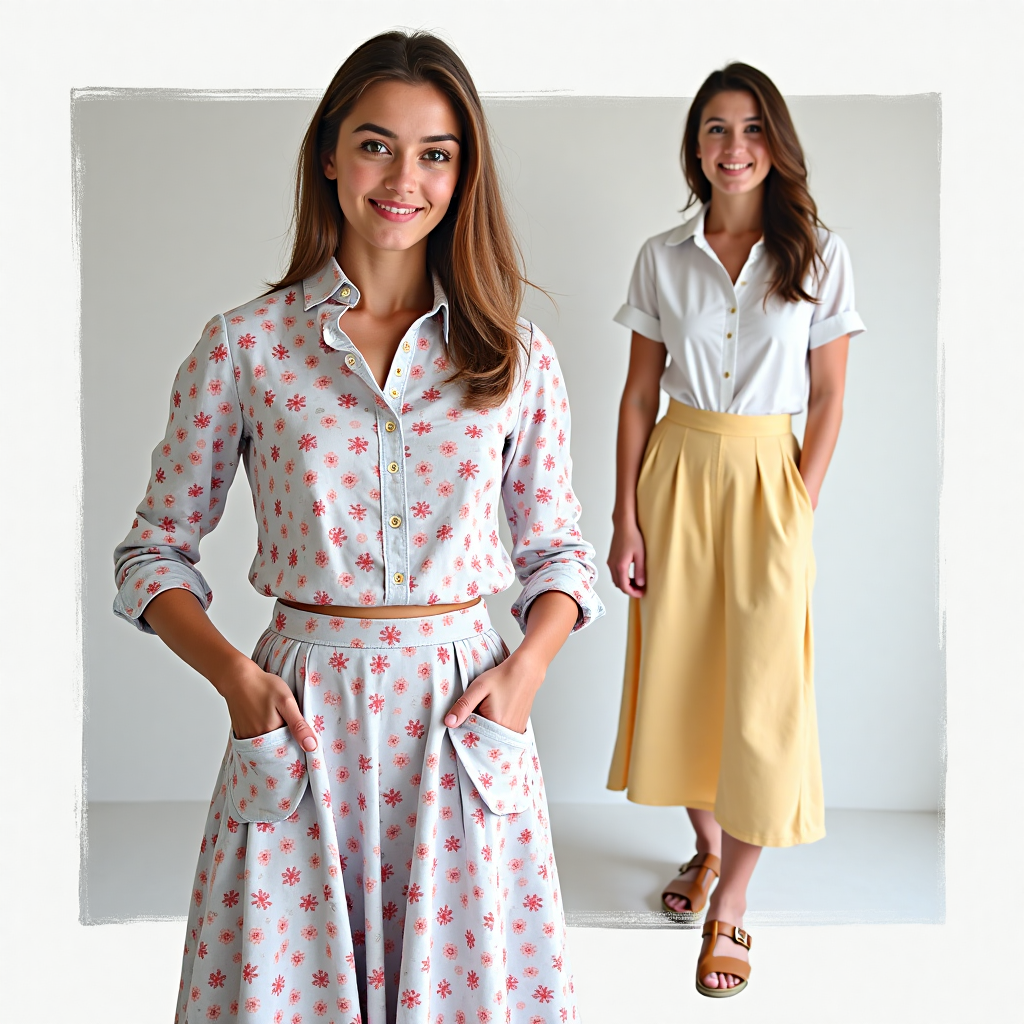
Are you ready to transform your wardrobe with a simple yet stylish addition? Sewing a skirt is an excellent way to upcycle fabrics and create a personalized piece of clothing. Whether you’re a novice sewer or an experienced tailor, this guide will walk you through the process of sewing a simple skirt. From choosing the right fabric to finishing touches, we’ll cover everything you need to know to complete your project with confidence.
Materials and Preparation
Before you dive into sewing your skirt, gather your materials and prepare everything you need. First, select high-quality fabric that suits your personal style. Look for patterns that interest you, whether they’re geometric, floral, or abstract. If you don’t have a pattern, you can purchase one or download a free printable version from a reputable sewing website.
Next, prepare your sewing tools and supplies. Ensure your sewing machine is in good working condition, and gather the following items:
- A ruler with a safety pin
- Iron and ironing board
- Fair-trade thread
- Fishing line or threadlocker
- Scissors
- Fabric glue
Also, consider cutting out the skirt pattern in advance and marking the grain lines for proper alignment during sewing. Having a plan will help you stay organized and avoid mistakes.
Step-by-Step Sewing Process
Step 1: Prepare the Fabric
Before you start sewing, lay out the fabric on a flat surface. Ensure it’s clean and free of wrinkles. If you’re using a printed pattern, trace the layout onto the fabric and cut it out using scissors or a craft knife. Mark the grain lines with a pin or marker to ensure proper alignment when sewing.
Step 2: Sew the Pockets
Most people love the practicality of a skirt with pockets. To add functionality, fold the bottom edges of the back and front of the pattern piece to create a 1-inch seam. Press the seams open, then sew them closed along the side seams. Trim the excess fabric and fold the pockets right sides together. Sew the sides and trim again to complete the pockets.
Step 3: Hem the Skirt
Once the pockets are sewn, it’s time to hem the skirt. Fold the hem under by 1-2 inches, place the right side of the fabric on top of the hem, and sew a running stitch. Trim the thread and fold the hem back out. Hem the bottom edge in the same manner, ensuring the hem stays straight. Leave a 2-inch opening at the bottom for walking or running.
Step 4: Add a Waist
For a more tailored look, add a waist to your skirt. Cut a piece of fabric slightly larger than the waist measurement and sew it to the top of the skirt. To create a drawstring waist, fold the top edge under by 1-2 inches, sew a small strip of thread through the folded edge, and fold it back out. Trim the thread and sew a decorative button or loop at the end of the drawstring for a polished finish.
Step 5: Final Touches
Once the waist is added, fold the skirt under along the side seams and hem the bottom edge if you haven’t already done so. Iron the skirt flat and place it on a hanger to check for any misalignment. If needed, adjust the hem or seams for a perfect fit. Add a belt or a few decorative buttons to enhance the look of your skirt.
Conclusion
Sewing a simple skirt is a rewarding project that allows you to express your personal style while upcycling fabrics. With the right pattern, fabric, and supplies, you can create a beautiful piece of clothing in no time. Remember to take your time with each step and don’t be afraid to experiment with different fabrics and designs. Happy sewing!
For more tips on sewing, patternmaking, and creating unique DIY projects, follow our blog for the latest updates and creative ideas.